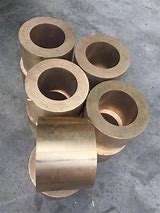
Today I wanted to talk about how to take apart a Soldered Copper Pipe fitting in an oral tradition. I hope this helps you out!
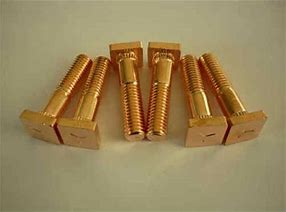
(How To Take Apart A Soldered Copper Pipe Fitting)
The first step is to find your or drill set. Make sure it has all the tools you need to get started. Once you have them on hand, go ahead and begin by removing the pipe from its socket.
As you do this, make sure you don’t touch anything too hot or dangerous. You can do this by using a heat shield or wearing gloves. If the pipe feels a bit heavy or tips off, stop immediately and try again later.
Once you’ve removed the pipe, look for any signs of rust or damage. If there is any, apply some oil or something like that to keep the pipe clean and strong.
Next, remove any loose connections from the pipe. These could be due to hardware problems or missing pieces. If you’re not sure what to do, just leave them alone and come back tomorrow.
(How To Take Apart A Soldered Copper Pipe Fitting)
Finally, unplug the power supply to the pipes and watch them fall apart. It may take some time for them to disintegrate completely, but if you wait, they will eventually come together. And remember, when taking apart a pipe, always wear gloves and safety glasses!

