Title: How to Put On Copper Pipe Cap
(How To Put On Copper Pipe Cap)
Have you ever wanted to add some heat to your cooking? Well, it’s time to learn how to put on a copper pipe cap! This will not only help keep your pipes hot, but also add a bit of visual appeal.
The first step is to prepare the copper pipe. Take the entire pipe and cut it into smaller pieces. Then, place the pieces in a pot of boiling water and let them simmer for about an hour. When they are done, carefully remove the pieces from the pot and let them cool completely.
Once the pipes have cooled, use a copper bathers or a cleaning rod to gently scrub off any dirt or that may be buildup around the pipes. After scrubbing, you can apply some friction to the edges of the pipes to smooth out any rough spots.
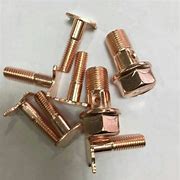
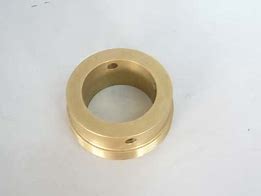
To put on a copper pipe cap, you’ll need to find a fitting size cap that fits perfectly over your pipes. Once you have your cap installed, simply turn it on and let it heat up to your desired temperature. As the cap starts to heat up, you should be able to see black threads running through the cap, which is the part of the pipe that needs to be exposed to the air.
(How To Put On Copper Pipe Cap)
Overall, putting on a copper pipe cap can seem daunting at first, but by following these simple steps, you’ll be able to create a beautiful and functional addition to your cooking equipment. So, whether you’re a experienced cook or just starting out, give this DIY project a try and you’ll be amazed at how easy it is to put on a copper pipe cap!

