Resoldering a copper pipe joint can be an exciting project that requires careful planning and attention to detail. If you’re looking for a way to save time and money on your next project, then this blog post is for you.
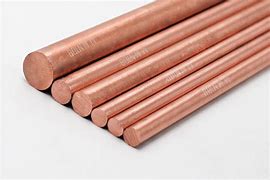
(How To Resolder A Copper Pipe Joint)
There are several steps you’ll need to follow in order to resolder a copper pipe joint. Here’s a step-by-step guide on how to do it safely and effectively.
Firstly, it’s important to ensure that all parts of the pipe are properly labeled and numbered. This will help you find what you need quickly and avoid mislabelled components.
Once you’ve identified the pieces, take them off the copper pipe with pliers or a hammer. Be sure to avoid damaging the materials in the process as you may create more damage than good.
Next, use a reciprocating saw or hand tools to remove the excessive shrinkage from the metal. Make sure to follow proper safety precautions to prevent injury.
If you’re still having trouble removing the shrinkage, you may want to consider using hot therapy or electric current to help reduce swelling and heat up the area.
After removing the shrinkage, carefully clean and lubricate the joints with oil or until they’re free of moisture and evenly sanded.
Finally, reinstall the joints back into the original location where they were originally installed. You may need to adjust the tightening pressure slightly to avoid any damage to the pipe.
(How To Resolder A Copper Pipe Joint)
In conclusion, resoldering a copper pipe joint can be a complex process but it’s worth it to keep your home safe and secure. By following these steps carefully, you can ensure that your new pipe joint meets the specified standards and lasts a long time.

