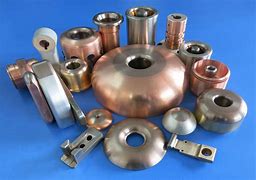
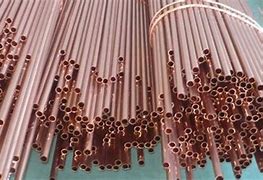
Adding a tee to copper pipe is a common task that is needed in many plumbing installations. A tee is a connector that connects two pipes together, allowing you to redirect or restrict the flow of water between them.
(how to add a tee to copper pipe)
To add a tee to copper pipe, follow these steps:
1. Determine where you want to place the tee on your copper pipe. This will depend on your specific application and the location of your pipes.
2. Install a nut on one end of the tee, which will be used for thread insertion. The nut should be tightened securely with a wrench.
3. Thread the tee onto the ends of your copper pipes, making sure they are aligned properly. You may need to use some pliers to help secure the tee in place.
4. Apply some plumber’s tape around the threads of the tee to help prevent leaks.
5. Test the tee to ensure that it is working correctly. If you notice any leaks or difficulties, adjust the tee as necessary.
It is important to use caution when installing a tee on copper pipe. Make sure that the tee is placed in a safe location, away from any electrical equipment or flammable materials. Also, be careful not to overtighten the tee nuts, as this can damage the connections between the tee and the copper pipes.
In addition to adding a tee to copper pipe, you may also need to install a water meter at the end of the tee to monitor water usage. This can help you determine if your pipes are running too high and potentially causing water waste.
(how to add a tee to copper pipe)
Overall, adding a tee to copper pipe can be a simple but important step in ensuring that your plumbing system is functioning properly and efficiently. By following these steps and using proper tools and techniques, you can easily install a tee without damaging the pipes or requiring costly repairs.

